Here’s a quick review of the Pixie CW Transceiver, built for 40m. I ordered two identical kits from China via ebay, one for myself and another for a friend. The kits arrived and appeared to be well put together; the PCB (5cm sq) seemed of a good quality with clear printing and the components (even a dummy load resistor) were supplied in individual bags.
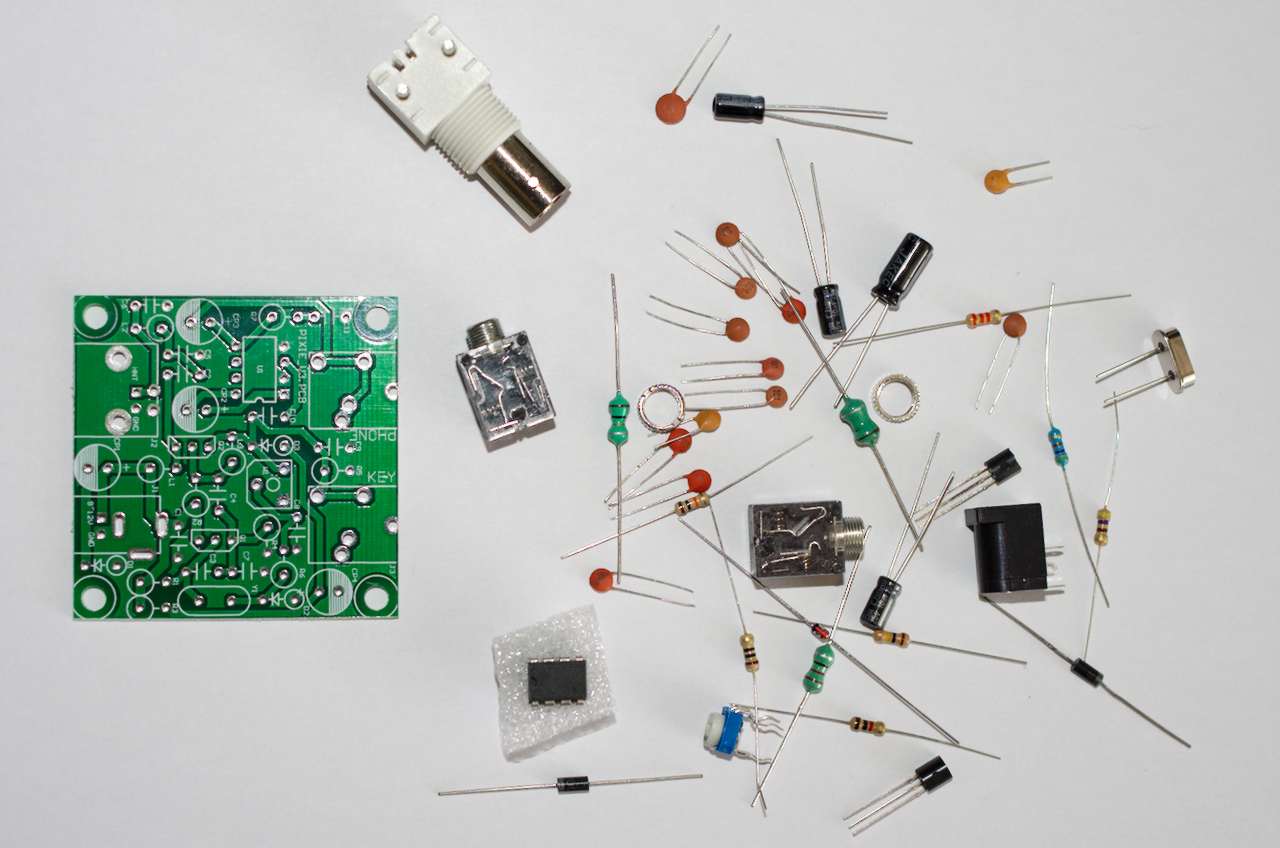
The Pixie Kit
The Pixie took approximately 45 minutes to assemble. During this time I noticed some pads were reluctant to hold solder. I’m unsure why this was – visually they looked great, but solder just wouldn’t flow and ‘bond’ in a satisfactory manner. I haven’t seen others mention this issue so perhaps it’s my fault for not cleaning the PCB first.
Once assembled, I connected a speaker and CW key, applied 12V and … nothing. I could see some minimal current being drawn on the PSU so disconnected the speaker and attached some headphones. Success! It seems the LM386N isn’t up to the job of driving a small loudspeaker but it’s more than happy with headphones.
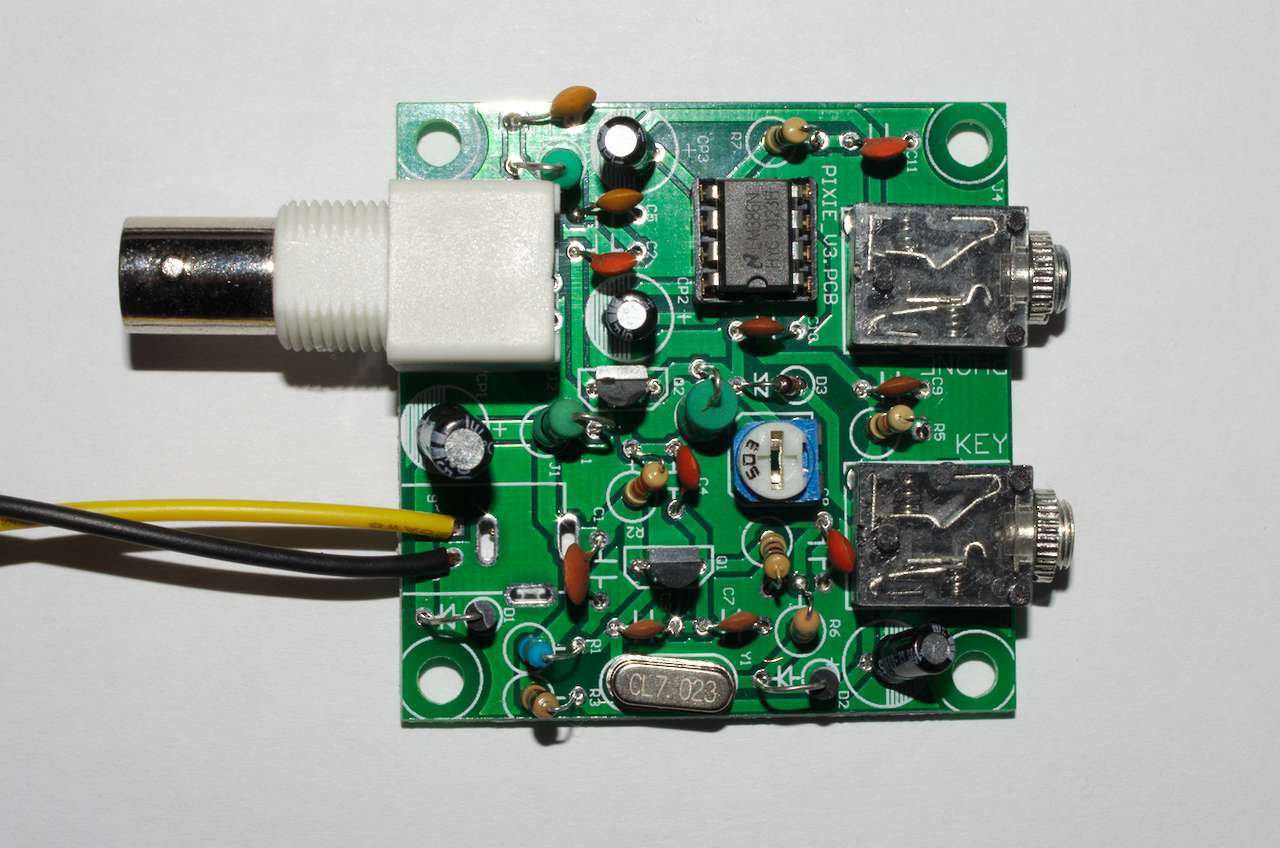
The Assembled Pixie
Attaching the Pixie to my 40m dipole I could hear several very clear CW transmissions. Of course, without filters on a busy band – this could be a problem. Still, I hit the key and monitored my transmission on the FT847; current draw increased on TX and a clear tone was heard on the 847. Plus, an added bonus – despite learning and practising on a paddle key, I managed to send some CQs with good (IMO!) timing on a straight key.
Future plans:-
1. Measure power output
2. Hold an actual QSO!
3. Mount the Pixie in an enclosure (with 9V battery?)
4. Order and build a ‘Frog’
In summary, well worth the money. I not only enjoyed the construction (despite the problem pads!) but have a working CW XCVR 🙂
Hi Steve,
Found your website via the internal RH ham users list. I built a Pixie recently too – I found the pads that were hard to solder were backed by large areas of copper on the PCB – thus making it hard to heat up easily. I do have a small soldering iron though!
The other point I noticed after seeing my speaker not work is that it is driving a stereo output from a mono amp, and plugging in the speaker (mono 1/8″) shorted the output to the sleeve. Putting in stereo headphones or only half inserting the speaker’s (to remove the short) produced audio.
I am yet to have a QSO with mine yet either – perhaps we may have a pixie-to-pixie QSO next time I visit the FAB office.
Cheers,
Andrew
VK3ARR
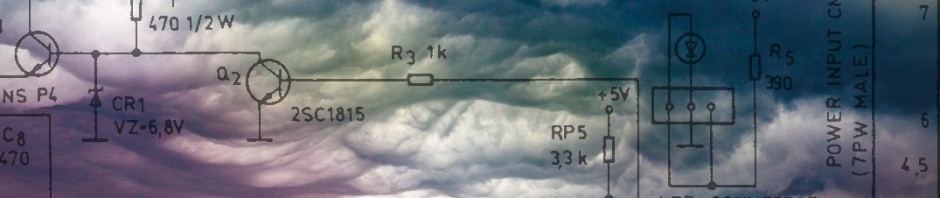
Nobody tells me about connecting 51 ohm registor for dummy load.
You’d better mention on it, too.
Good point – thanks for mentioning it!
I also bought a Pixie kit recently. As with yours a few through solder pads didn’t take solder and required soldering from the top with the BNC socket particularly bad. I ‘ve put mine on 5.262 MHz and worked a few stations at around 100 miles so far on a 12 volt battery and 350 mW out into a low dipole. The furthest heard is in Kent so far at around 185 miles.
Hallo,
wofür brauche ich den dummy lastwiderstand?
und wofür ist der buzzer+ shield?
ich bin absoluter Anfänger in der elektro- und radio Technik.
Habe den pixie zusammengebaut und möchte jetzt testen, ob alles o.k.
Ich habe noch keine Antenne, höre also nur ein brummen — ???
Bin für jeden Hinweis dankbar.
73 Kalle
Hallo Karl,
Ich verstehe nicht, der Sommer + schild? Um ein Summen zu vermeiden, versuchen Sie, die 9-V-Batterie mit Strom zu versorgen. Der Dummy-Lastwiderstand wird nur zum Testen von TX ohne Antenne benötigt (zum Schutz des Ausgangstransistors).
Ich hoffe das hilft. Bitte stellen Sie weitere Fragen.
Steve M0SPN / OH3SPN
Habe alles vorschriftsmäßig angeschlossen, aber zu Hören ist nur ein grelles Brummen
im Kopfhörer – was habe ich wohl falsch gemacht ???